Team Foundation Server 2010 has a great flexibility concerning its configuration. When the binaries are installed, a wizard shows up and propose you many types of installations: Basic, Standard, Custom, etc.
If you configured your TFS with either Basic or Custom you will be without SharePoint. Now let’s say you changed your mind and you want to setup SharePoint after all, one might think it’s an easy task, but we’re talking about SharePoint, then nothing is ever easy!
Here is the macro scenario to succeed in this task:
1) Install WSS 3.0 Manually.
2) Add the Team Foundation Server SharePoint Extension Console (the non obvious) part.
3) Let Team Foundation Server grant access to your SharePoint.
4) Create the association between those two.
Before a little screencast, let’s explain the step 2 a little bit more. When I first tried to add my SharePoint, it never crossed my mind that I have to do this step, for me (and I think many people will think the same) installing the SharePoint Extensions were only if you have installed the SharePoint server on another server. But the truth is that you need to install it to get an extra configuration item in the Team Foundation Server Administration Console.
Step by step procedure
Install & setup WSS 3.0
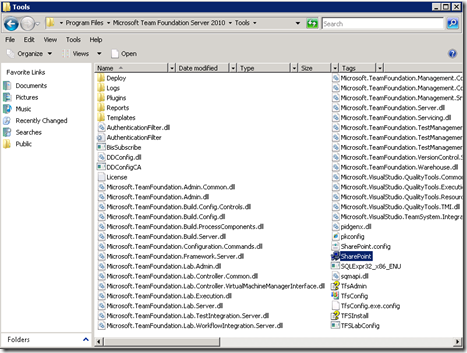
This is a classic installation of SharePoint 3.0, you’ll find the setup in the Tools directory of your Team Foundation Server installed location:
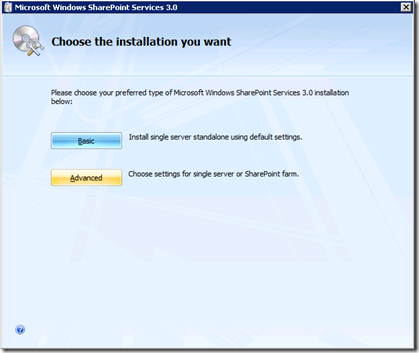
Choose the Advanced Installation mode.
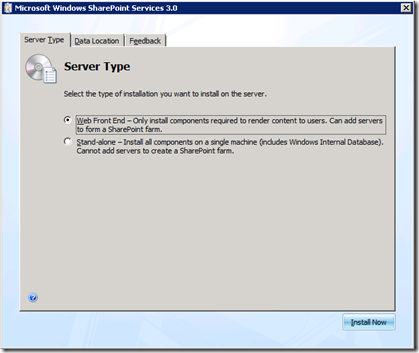
Then choose the Web Front End mode and click “Install Now”.
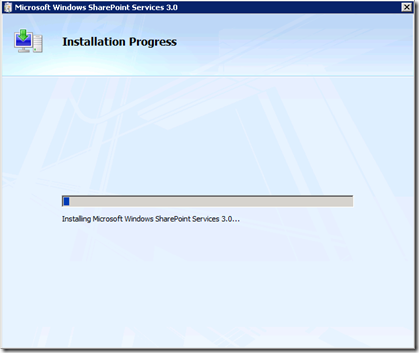
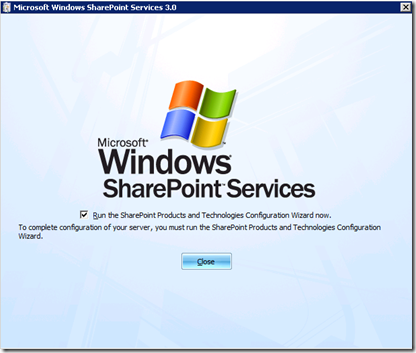
Now your SharePoint is installed you have to create a new Farm. Let the checkbox “Run the SharePoint Products and Technologies Configuration Wizard now” checkbox checked, and close the window.
Click Next on the next screen, then choose: “No, I want to create a new Server Farm”.
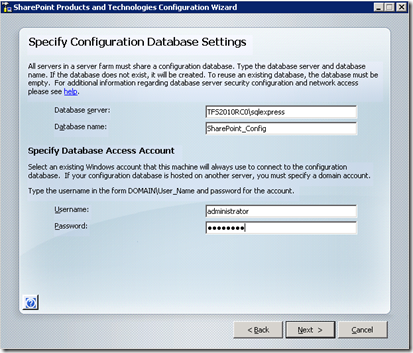
Setup the screen with the database of your TFS (<yourtfs>\sqlexpress for a basic install), and set the administrator account to access to the database. Click next.
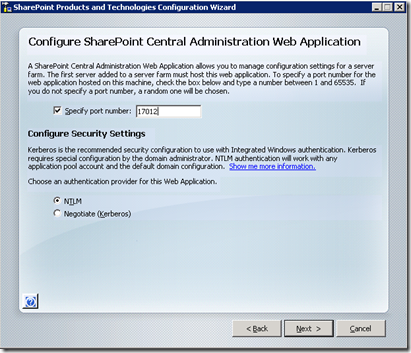
On the next screen, set the SharePoint Central Administration to the port 17012, click next.
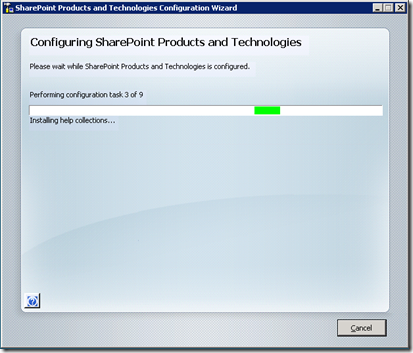
Now click next until the Wizard is configuring the Web Farm.
Ok SharePoint is installed! Great! Now you have to create a SharePoint Web Application.
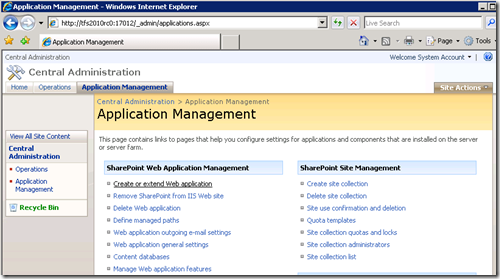
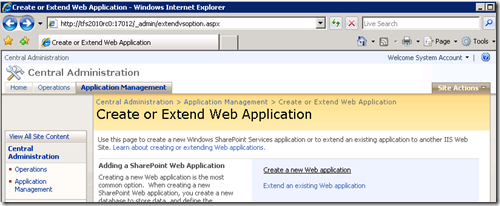
Go to the “Application Management” Panel in the Central Administration, then choose “Create or extend Web Application”, then click on “Create a new Web Application”.
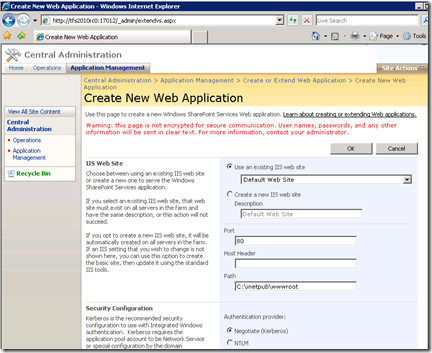
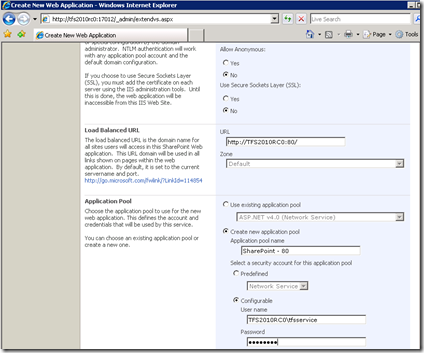
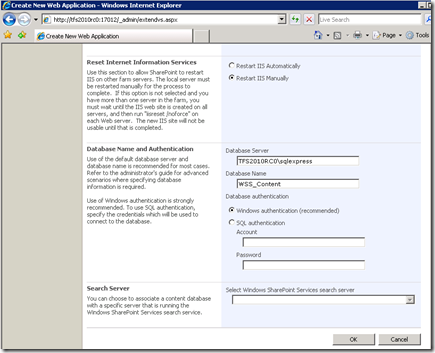
Setup the new Web Application as following. Note that you need to create the TFSSERVICE account if it’s not already done.
Restart IIS manually.
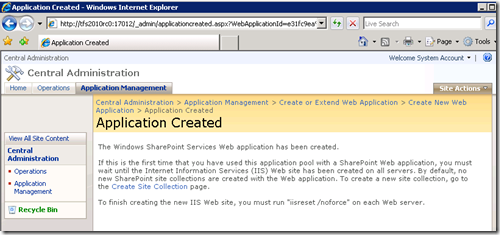
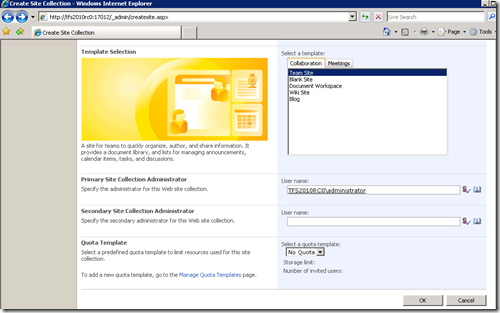
Now that your Web Application is created, you have to create a Site Collection.
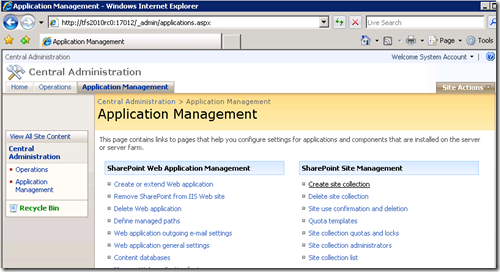
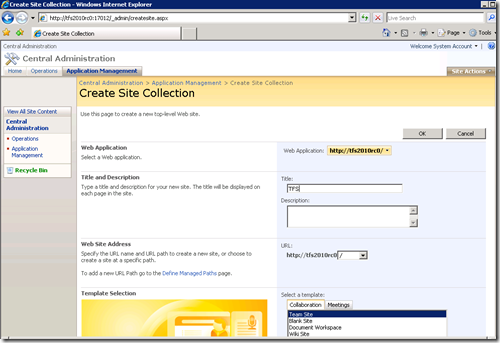
In “Application Management” click on “Create Site Collection” then fill the page like this:
Then click on the “OK” button. Now your Site Collection is created, you’re done with the SharePoint configuration, yey!
Add the Team Foundation Server SharePoint extensions
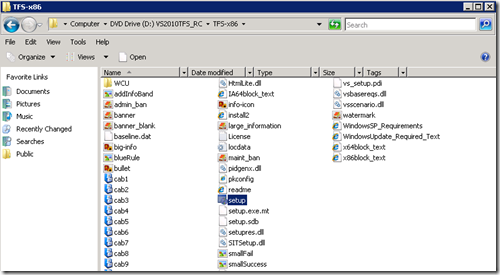
Ok, now your SharePoint is setup, you can install the extensions. Run the Team Foundation Server 2010 setup.exe again.
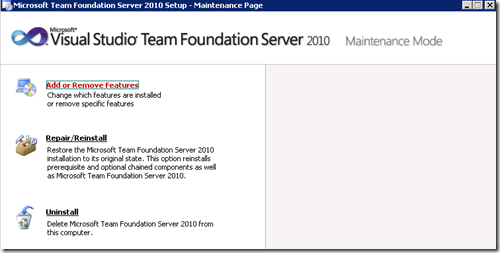
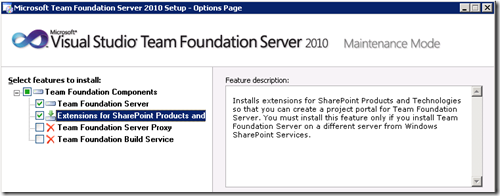
Select “Add or Remove Features”, then a new items appears magically: “Extensions for SharePoint Products and Technologies”, check it and update your installation.
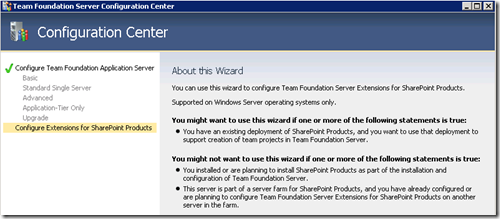
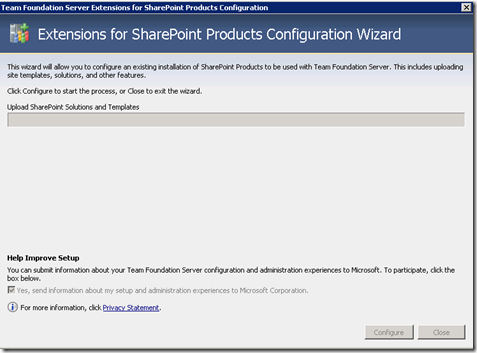
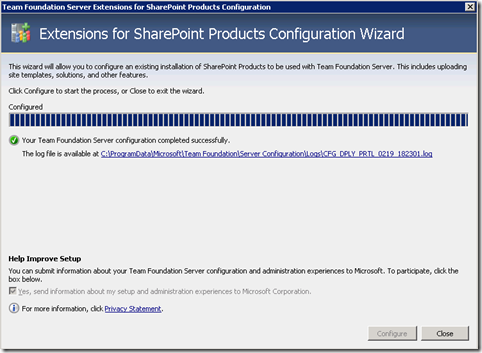
When it’s update, click the “Configure” button to launch the Team Foundation Server Configuration Center. Select “Configure Extensions for SharePoint Products” and start the wizard then simply click on the “Configure” button. This will load the SharePoint Templates of the TFS Process Templates and do other obscure stuffs…
Close both Windows when it’s done.
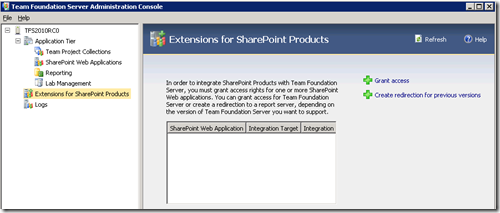
The Team Foundation Server Administration Console shows up and this time you’ll be able to attach your SharePoint
Configure the SharePoint from the TFS Administration console
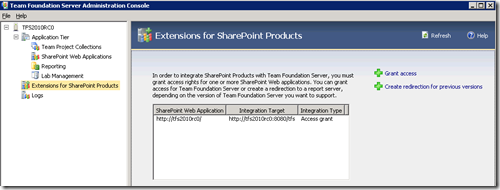
Click on the new item “Extensions for SharePoint Products” then on the “Grand Access” text on the right:
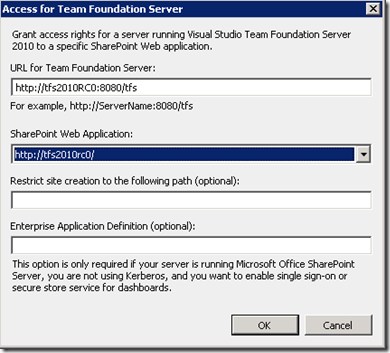
Fill the following screen with the TFS Server URL and the SharePoint server one too.
Click ok, and now your SharePoint is configured to use the Team Foundation Server.
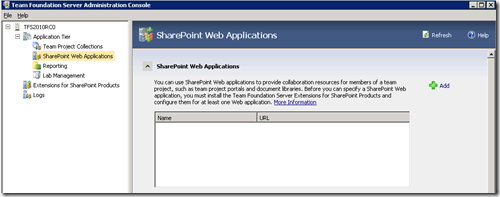
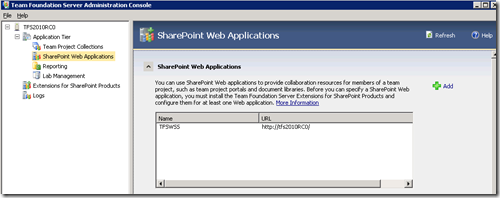
One more step: add the SharePoint server to the TFS Application Tier. Select “SharePoint Web Applications” under “Application Tier” of your TFS Server in the Team Foundation Server Administration Console. Then click on “Add” in the “SharePoint Web Applications” section.
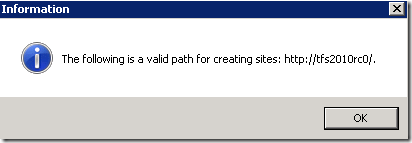
Click on the “Verify Path” button to check your configuration.
Then click on the “OK” button to Add the SharePoint Site Collection.
Now you regret that you didn’t choose SharePoint at first during the TFS configuration, don’t you?
Bonus: set a SharePoint site Collection to an existing Team Project Collection
Ok, one last tip, how to associate your new SharePoint with an existing Team Project Collection (say the Default one for instance).
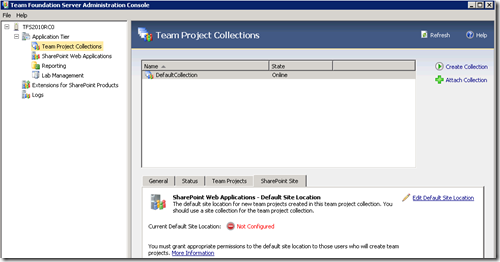
In the Team Foundation Server Administration Console, select the “Team Project Collections” item, then the Team Project Collection you want to modify and select the “SharePoint Site” pane.
Click on the “Edit Default Site Location” text.
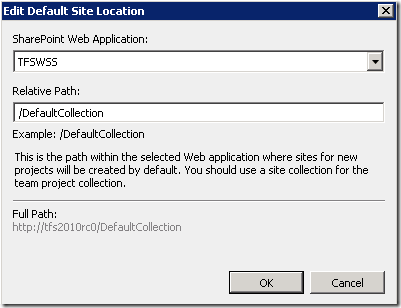
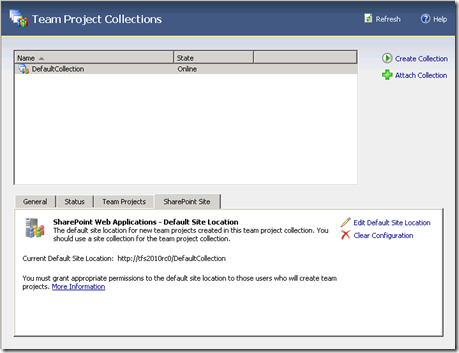
In the window that appears select the SharePoint web application type the path you’d like to map on your Team Project Collection (typically the name of the collection), then click “OK”. If a message box appears to ask you to create a new site choose “Yes”.
Job’s done!



 Francais